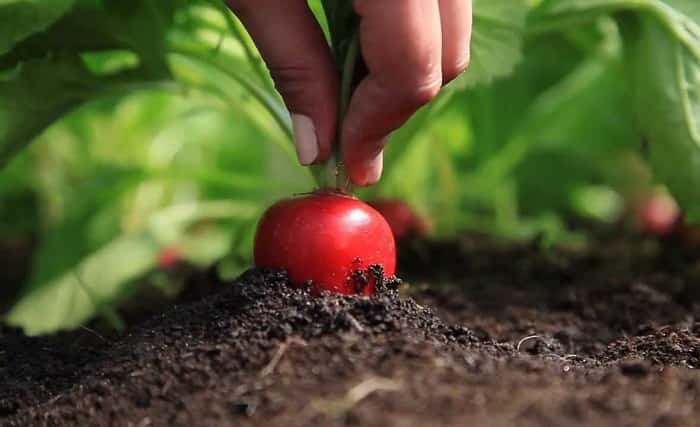
Growing radish in your garden: everything you need to know


Contents:
- Planting dates for radish
- Choosing a place in the garden for planting
- Preparing the garden bed
- Radish sowing technology
- Care instructions
Growing radish in a garden is a simple task, at first glance. You need to sow the seeds and harvest within a month. However, if you are not familiar with the peculiarities of this crop development and do not consider the best practices of caring for and growing radishes, the harvest will not be of very high quality, or the root crop will not form at all. In this article, we have assembled tips on properly growing radishes to help you achieve the best results.
Planting dates for radish
Radish is known for its short growing season: no more than 4 weeks are required from sowing seeds to harvesting. Therefore, it is quite possible to plant radishes every 7—10 days during the spring with the onset of consistently warm days, collecting a good harvest one after another. Most cultivated varieties are sown continuously in the spring, starting from April and until the end of May, continuing sowing in the summer (in August).
In June and July, they take a break. The reason is as follows: radishes need 10—12 hours of light to form large root crops, but when the daylight lasts 13—14 hours, as well as in the heat, the radishes begin to bolt. The root crops are small, since all the energy is spent on flowering and seed formation. If you really want to get fresh radishes, you can do so in the summer, if:
- cover the beds with dark material every evening, thereby reducing daylight hours to 10—12 hours;
- plant varieties that do not produce bolts, such as Malaga, Duro, etc.
Choosing a place in the garden for planting
An important condition for growing tasty radishes in open ground is choosing the right place for planting them. A sunny area (in spring) or partial shade (in summer) will do. A lack of light provokes the growth of tops and the crushing of fruits.
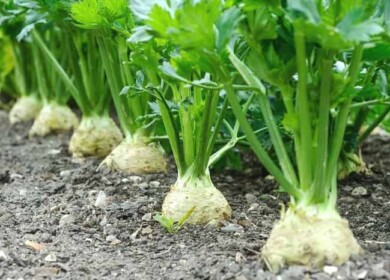
Radishes grow well next to other plants, so they are often sown between rows of parsnips and carrots. Since they will be harvested earlier, they will not interfere with the development of the main crop. Remember crop rotation and change the bed for each batch.
Preparing the garden bed
To grow radishes, you need to provide them with favorable conditions. The crop loves fertile, not heavy, soil that is cleared of weeds, stones, and debris that will interfere with the development of root crops. The soil reaction should be slightly alkaline or neutral.
How to prepare the soil for planting radishes:
- Clay and dense substrate should be lightened using sand. It is advisable not to scatter sand on the surface — it dries the soil, but to mix it with the soil.
- Depleted soils are fertilized with humus and compost. Fresh manure is not used, as it causes voids to form in root crops.
- Acidic soils need to be neutralized by adding dolomite flour in the fall.
Radish sowing technology
Radishes are sown by scattering seeds individually into prepared furrows. The distance between seeds is up to 5 cm (2 in). The row spacing is up to 15 cm (6 in) wide. The seeds are planted shallowly into the soil, 1.5 cm (1 in) deep. If you plant them deeper, the radish will grow elongated. This is typical for growing radishes in heavy soil, while in a loose substrate, the shape of the root crop will not change.
An air temperature of +20°C (68°F) degrees will ensure the emergence of shoots already on the 3rd day from the moment of sowing. If the spring is cold, germination will take up to 6—12 days.
Summer planting
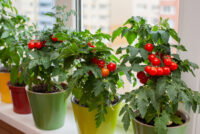
Summer cultivation of radishes is rare (we wrote about the reasons above). But if desired, you can get a harvest by planting seeds between strawberries or tomatoes. In separate beds, radishes are covered with non—woven material, starting from 6 p.m. until the morning. For summer planting, hybrids are chosen that are characterized by weak bolting (in addition to those listed earlier, these are the Zlata and Belye Nochi varieties).
Spring planting
To facilitate sowing, you can fix the seeds with paste on paper tape at the required distance from each other. The tape is carefully placed in the prepared furrow. After this, the seeds are covered with soil and slightly tamped for quick germination.
There is also another way to grow radishes. Take a paper egg carton, cut off the bottoms of the holes, and press the prepared cassette into the ground. Put one seed in each hole, cover with soil, tamp, and water. Each plant will form a beautiful shape, so there is no need for thinning and weeding.
Autumn planting
Growing late—ripening radish varieties begins after harvesting other garden crops. Large root crops require a larger distance — up to 15 cm (6 in), between rows — 20 cm (8 in).
Before winter
The distance between seedlings and beds is the same as in spring planting. The soil and seeds must be dry. The material is laid out in furrows, sprinkled with soil, and rammed. A 2 cm (1 in) thick layer of peat is laid on top. If there is snow cover, the bed is covered with snow.
Care instructions
The root crop is unpretentious, but there are some nuances to growing radishes that are worth studying to ensure a high—quality and abundant harvest.
Watering
The soil should be kept moist and should not become swampy. Frequent watering will speed up the growth of the root crop and increase its juiciness. If there is not enough water, the radish will grow fibrous, bitter, and “woody.” When the beds are watered unevenly (heavy watering after several days of rest), the root crops crack. The ideal option is drip irrigation and mulching. After watering, the soil is loosened if it is not covered with mulch.
Nutrition
Fertile soil does not require additional feeding, especially with autumn fertilization with humus. On depleted soils, additional feeding is indispensable. There are 2 periods when the crop especially needs feeding:
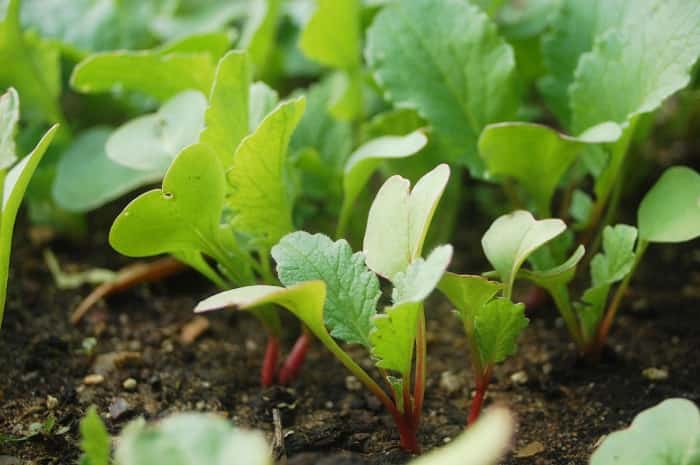
- The moment when the first 2 leaves appear, when the plant is actively growing. At this time, nitrogen is required (urea, saltpeter).
- Formation of root crops (a rounded root is visible). Potassium and phosphorus are used. A complex preparation with a predominance of the listed substances in the composition or potassium monophosphate will do.
Experienced gardeners recommend choosing biological fertilizers based on humus instead of agrochemicals. Natural fertilizer can be made with your own hands. If you need nitrogen support, nettle infusion will do. Instead, you can take humus from the garden bed, dilute it in a container with water to the consistency of a thick liquid, and then water the sprouts with this solution.
You can use ash when the crop requires more potassium and phosphorus. It contains many useful microelements, with the exception of nitrogen. Considering that it is not required at this stage, wood ash will do. Wet sprouts are powdered with ash, or one glass of the product is dissolved in a bucket of water, and the beds are watered with the resulting solution.
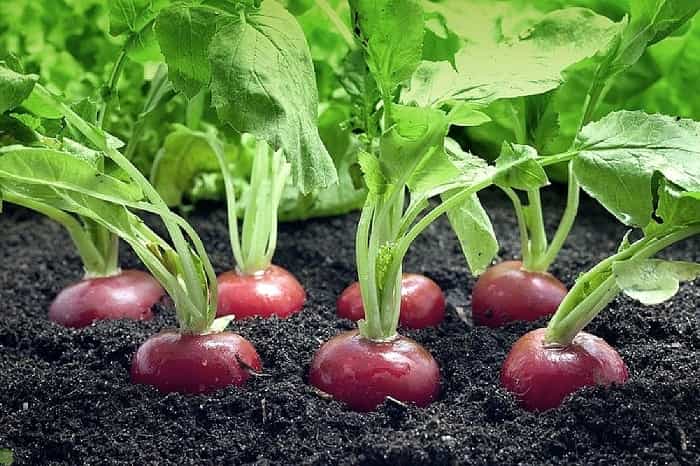
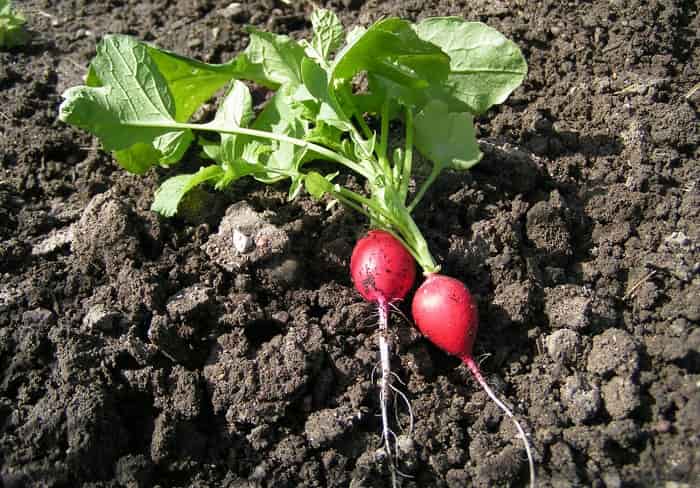
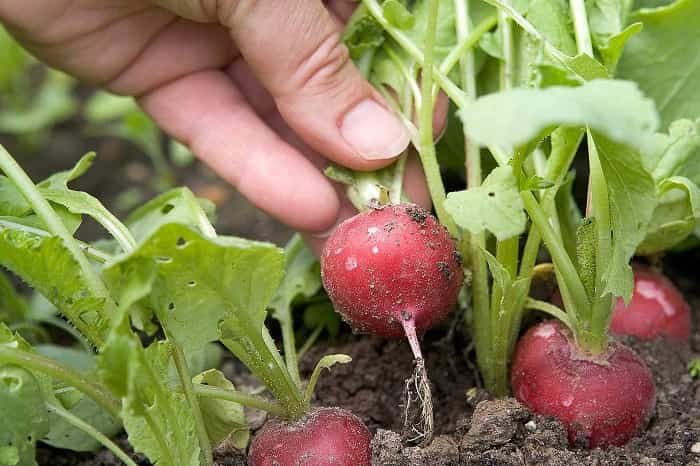
Harvesting
Root crops are harvested when the part visible above the ground exceeds 2 cm (1 in) in diameter. If you leave the radishes in the beds for too long, they will become hard. For storage, the root crops are cleaned of tops and tails, washed, and dried. They are then placed in a bag in the refrigerator.
Pests and diseases
Radish is susceptible to bacterial and fungal infections. Common diseases include powdery mildew, baldness, downy mildew, slimy bacteriosis, black leg, and others. Pests include cruciferous flea beetles, cabbage flies, snails, and slugs. In each case, there are effective control methods, which you can read about in other articles on the site.


Discussion0 comments